6 Non-Toxic Holiday Inspired Crafts for Winter Days
As school semesters come to an end and we transition back to vacation mode in the COVID era, many of us will be looking for ways to entertain our kiddos.
Adding to the “fun” are shorter days, cold weather in some parts of the country ( although here in LA its practically beach weather- but we spent my oldest son’s first 4 years in NYC and my youngest’s 1 st year of life in NYC so I know what those cold long winter days with little ones are like!) and the inability to plan playdates - at least in cities where partial stay at home orders are in place.
The good news? There are plenty of fun family activities for those long winter days! Here are some ideas - I have organized then in order from easy to more difficult level (shopping list at the end of the post!) :

1. Holiday themed playdough Sensory Kit
For a non-toxic twist on this sensory item: make the playdough yourself, avoid including crafting supplies, ornaments since these often contain harmful levels of heavy metals
(Pictured Pre Made one is available on Etsy by CreativePlayTreehous)
This can provide hours or entertainment for little ones. A couple of things to consider:
Holiday decor items (bells, ornaments, etc) and craft items (trees etc) are not considered - legally- toys, which means they are not required to be tested for heavy metals like lead. For little kids who likely will place items in their mouth, best to NOT include trinkets that are considered decor or crafts in this kit, otherwise you risk exposing your child to harmful chemicals.
I try to avoid glitter in the playdough because it is plastic and a contributor to microplastic pollution world wide and little kids can get it in their eyes
Instructions: Place the following suggested items in a box. If you have a box with dividers that works well too.
1. Make homemade non-toxic playdough (recipe here) in holiday themed colors and include 2-4 balls of homemade play dough
2. Include different manipulatives for play: examples can include: cookie cutters, holiday themed string or pre-made bows, pipe cleaners, twigs or rocks found while on a nature walk, stamps, wooden small animal toys, holiday poof balls in varying sizes, holiday themed wooden figurine, holiday themed silicone kids spatula
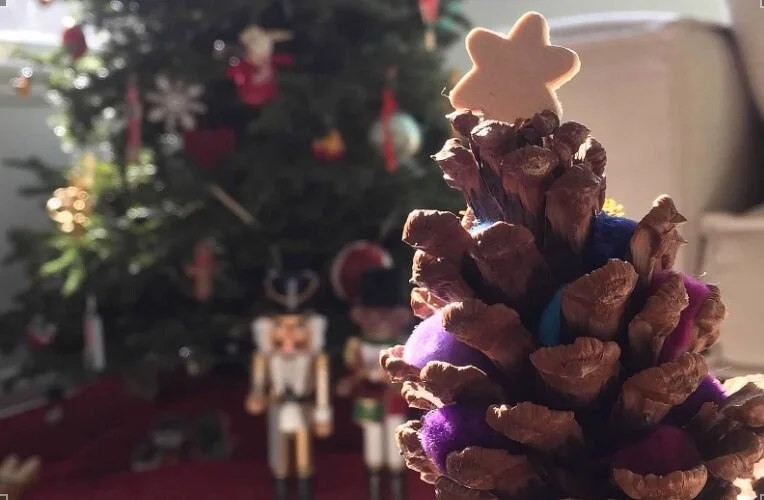
2. Pinecone tree craft
Mix art with a nature walk!
Our preschool did this activity with my son and ever since we have repeated it yearly. One of the things I love most about it is that it will require you to go out and take a nature walk to find the pine cone!
Just venture to your yard, nearby park or neighborhood for materials for these pine cone crafts, paint the pine cones all green or add little paint details in white or silver or gold paint or dont paint them and instead add some craft puffy dots as "ornaments." A small wooden star (or thick felt) can top the tree

3. DIY holiday cards
Wooden craft figures and some string elevate these holiday card
For these I bought the kids some wooden holiday themed wooden cut outs ( snowflakes, stars, gingerbread man, christmas tree) at Michael’s and some smaller holiday themed wood keychains, along with a pack of blank cards ( you could also use any thick card-stock) . Have the kids paint the wooden figures and then glue them to your cards. Add a holiday inspired string and tie it around the fold of the card and voila!

4. Lego dry snow globe
My Lego obsessed 7 year old made this surfer snowglobe pretty much by himself ( I helped with glue)
Have a Lego lover at home?
1. Grab any wide mouth glass jar or mason jar ( You can use any jar—tomato sauce, jam, or jelly—whatever you have at home. ) and remove the label
2. Unscrew the lid and glue a layer of lego blocks to the inner part of the lid ( this will act as an elevated “ floor” and allow your figurine to be more visible inside the jar).
3. Add the lego figurine/ create your scene that will be the center piece of your globe. You can also use any non lego figure
4. Add salt or paper confetti or thick glitter to the jar and once the figures are securely glued to the lid, screw the lid back on and Flip it Lid side down. The lid should be the bottom of your globe. I always discourage glitter use due to its contribution to microplastic pollution…. as you can see the one we created does indeed have glitter- this is very old glitter we had at home (from before I new how bad glitter can be for the environment) paper confetti or salt or even real sand are all better alternatives!

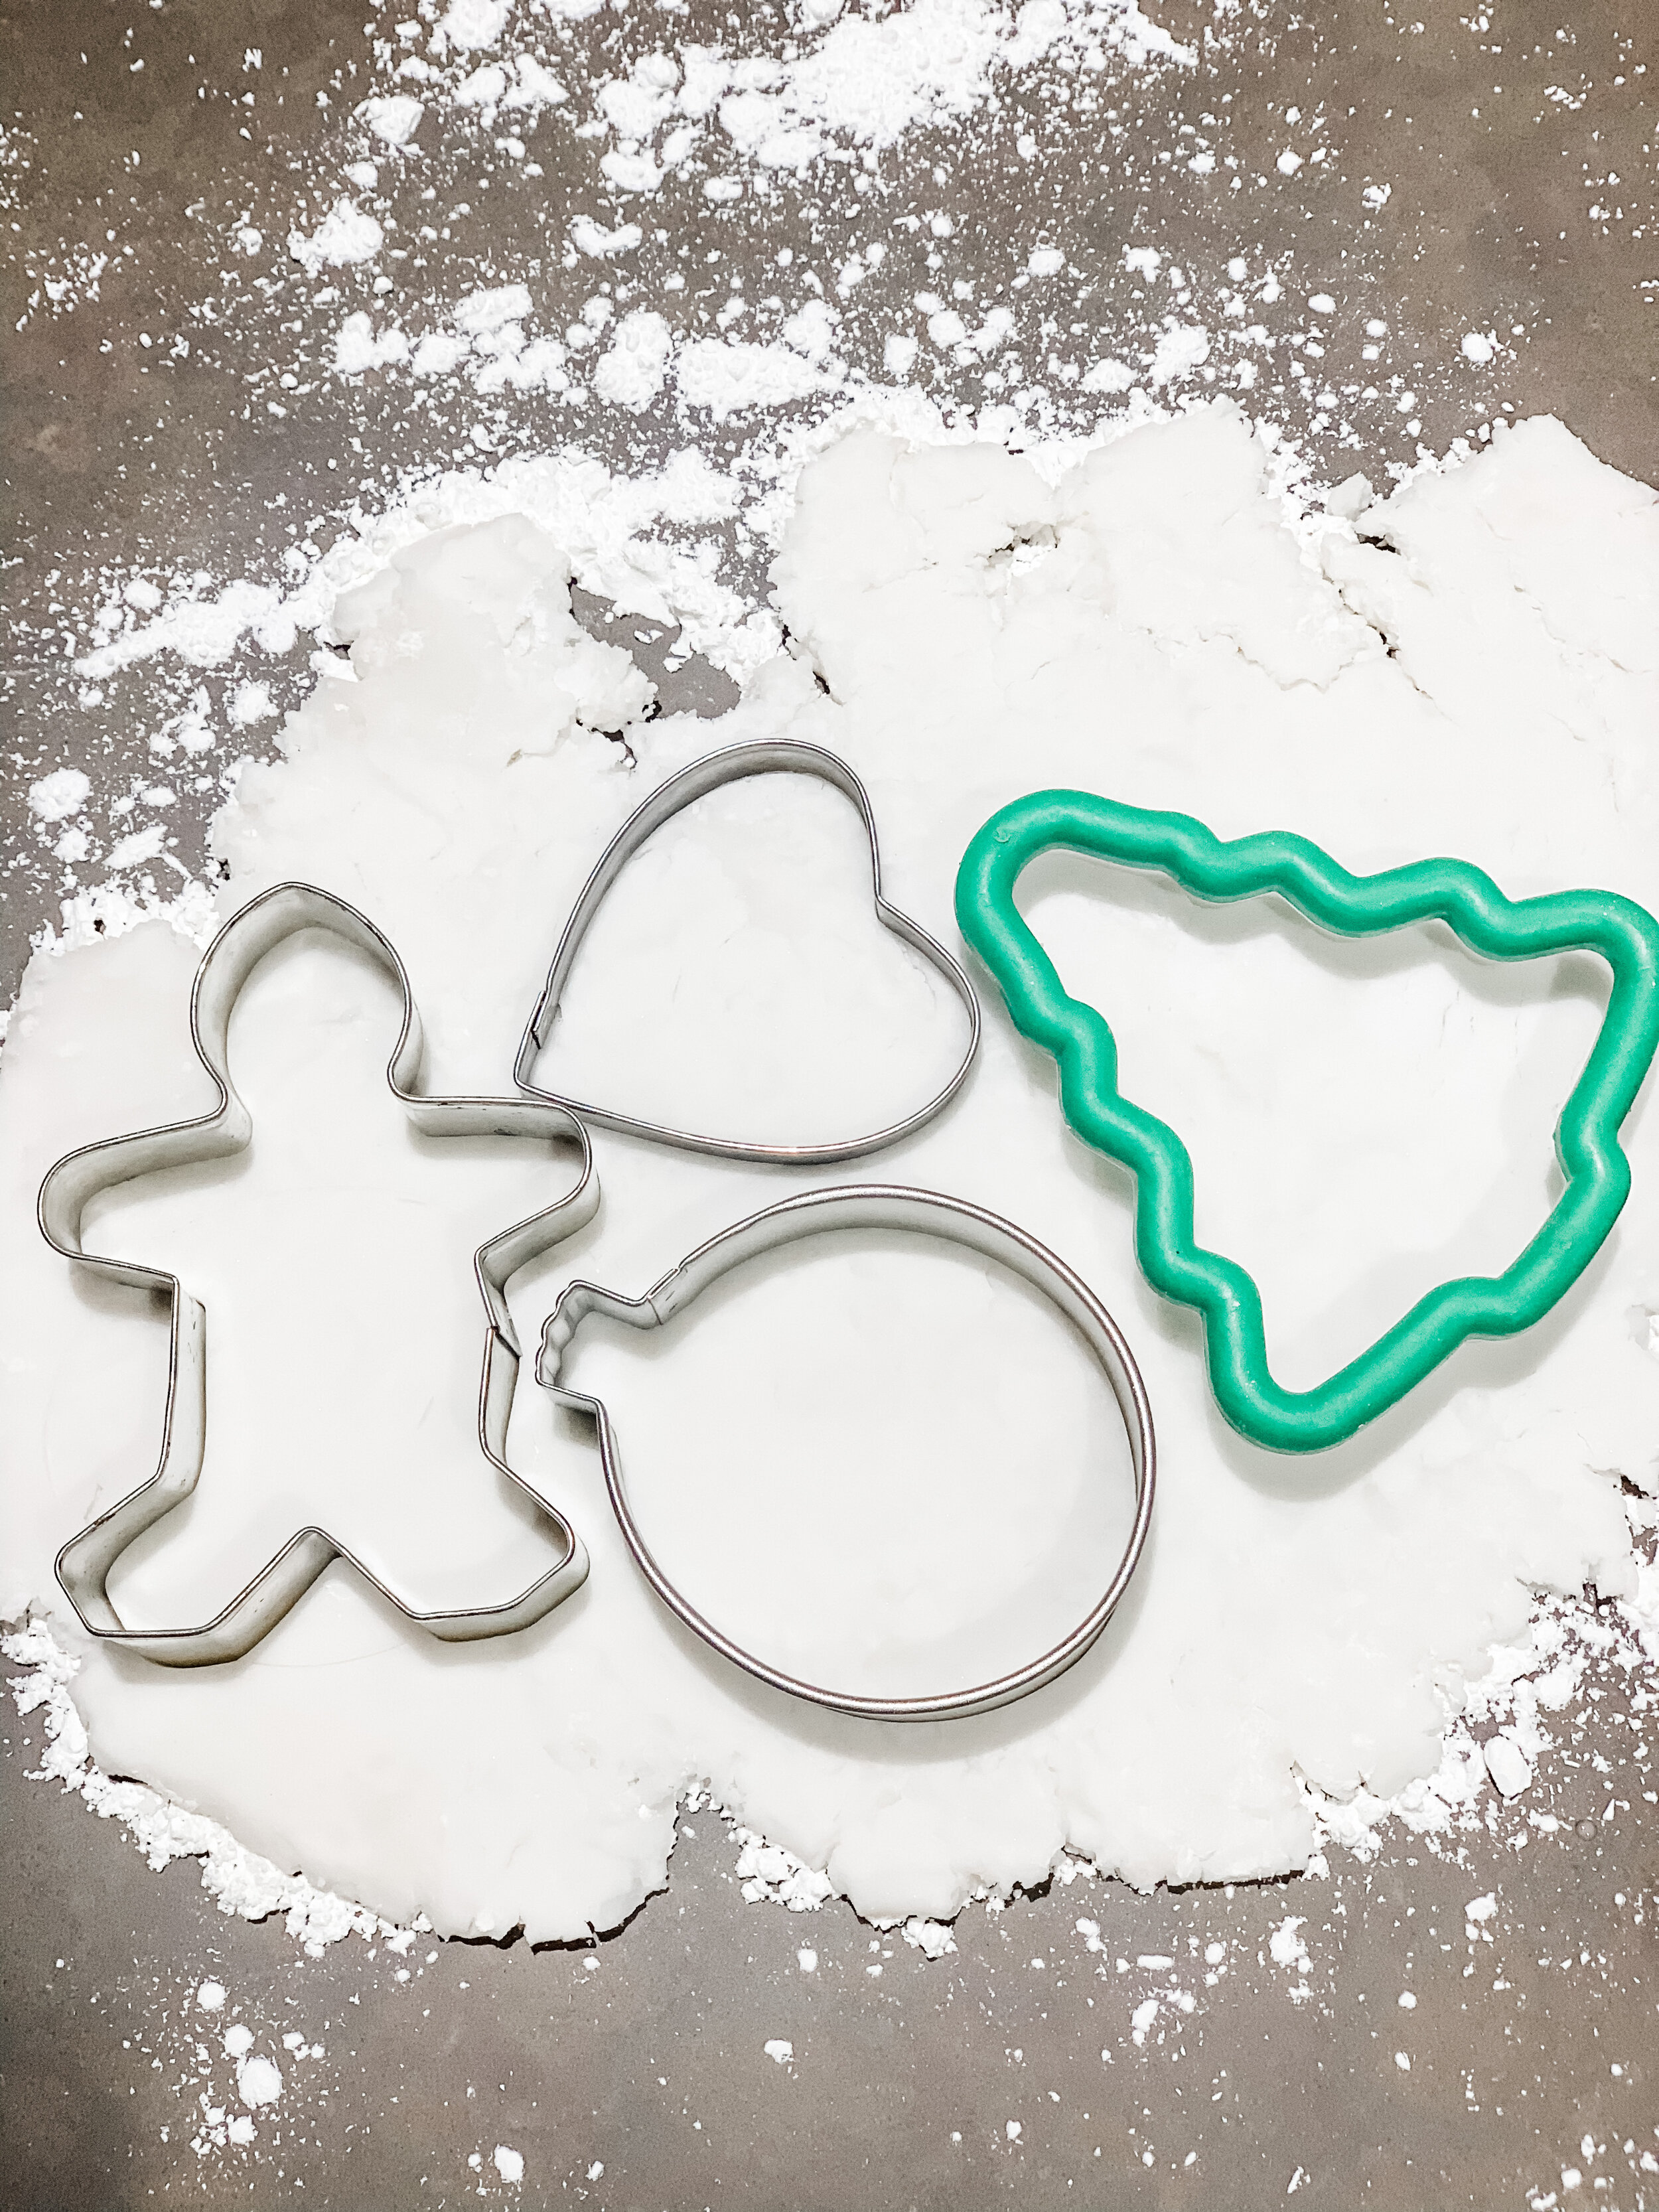
5. Baking Soda ornaments
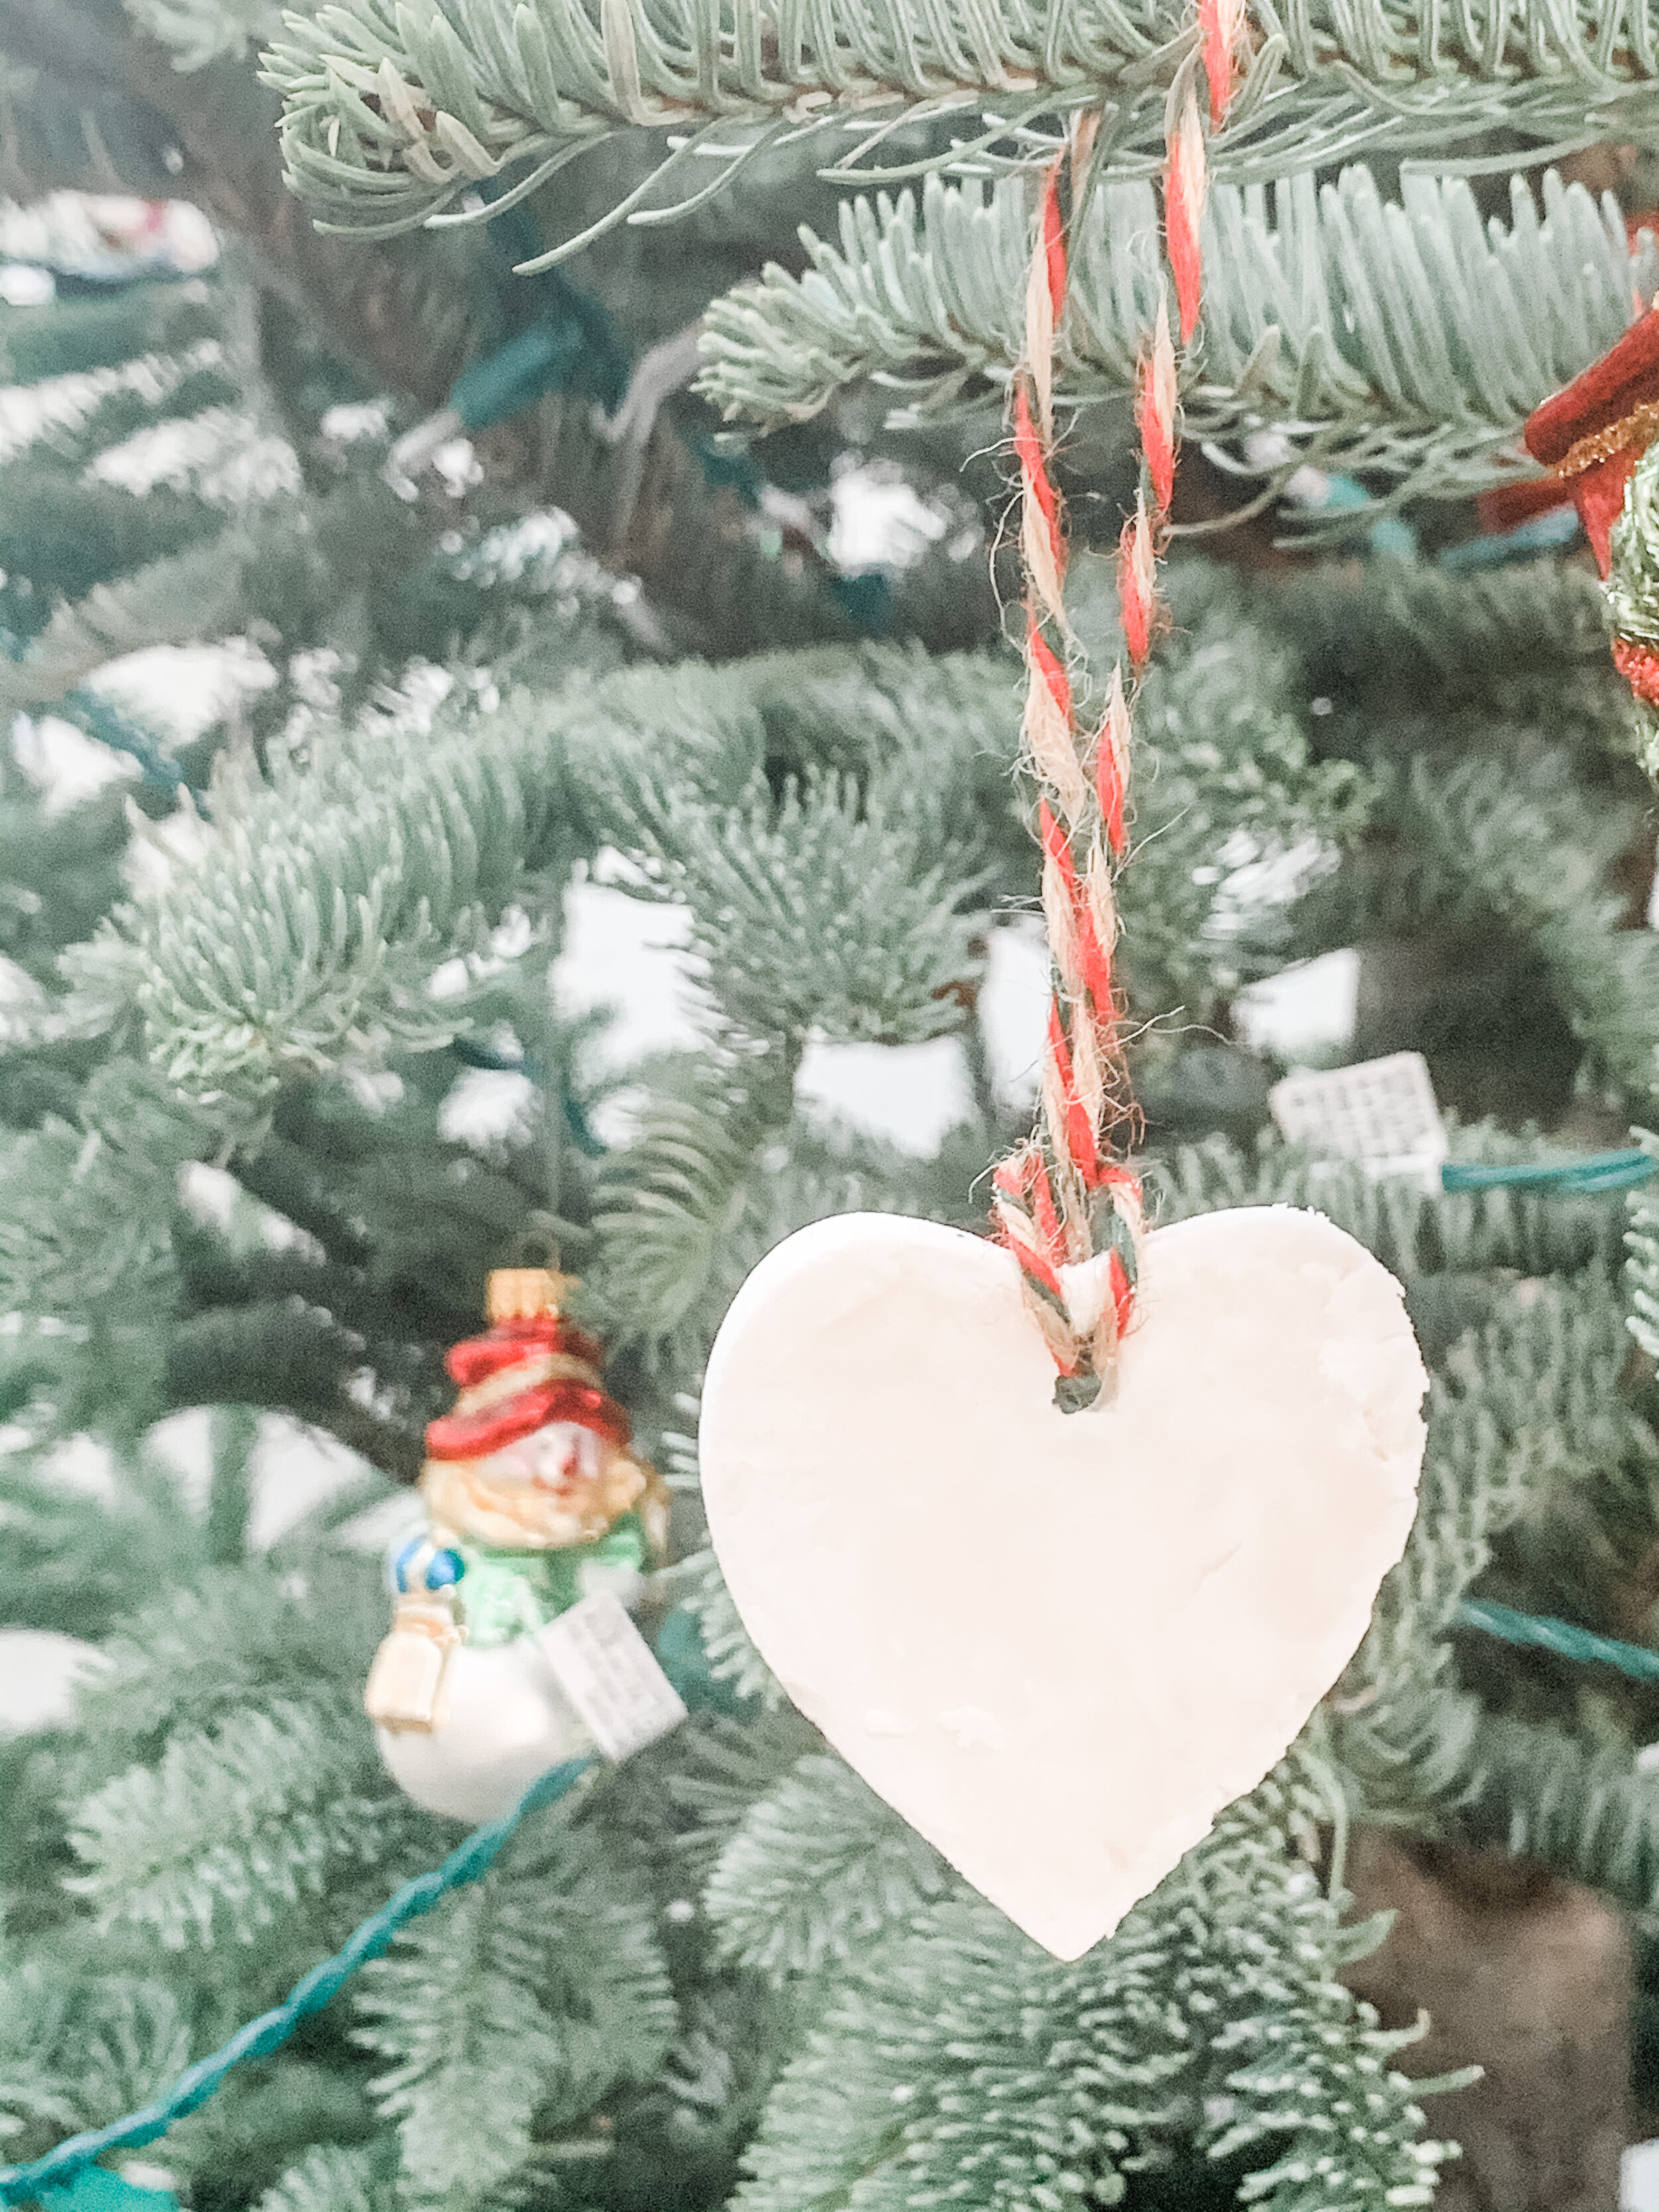
I saw a friend of mine make these on Instagram and had to try them with the kids. They were so easy! Use them to hang on a tree, make a garland, attach them to a present or give them as presents- so many possibilities! You can also paint them or leave them white or create a pattern on them before they dry.
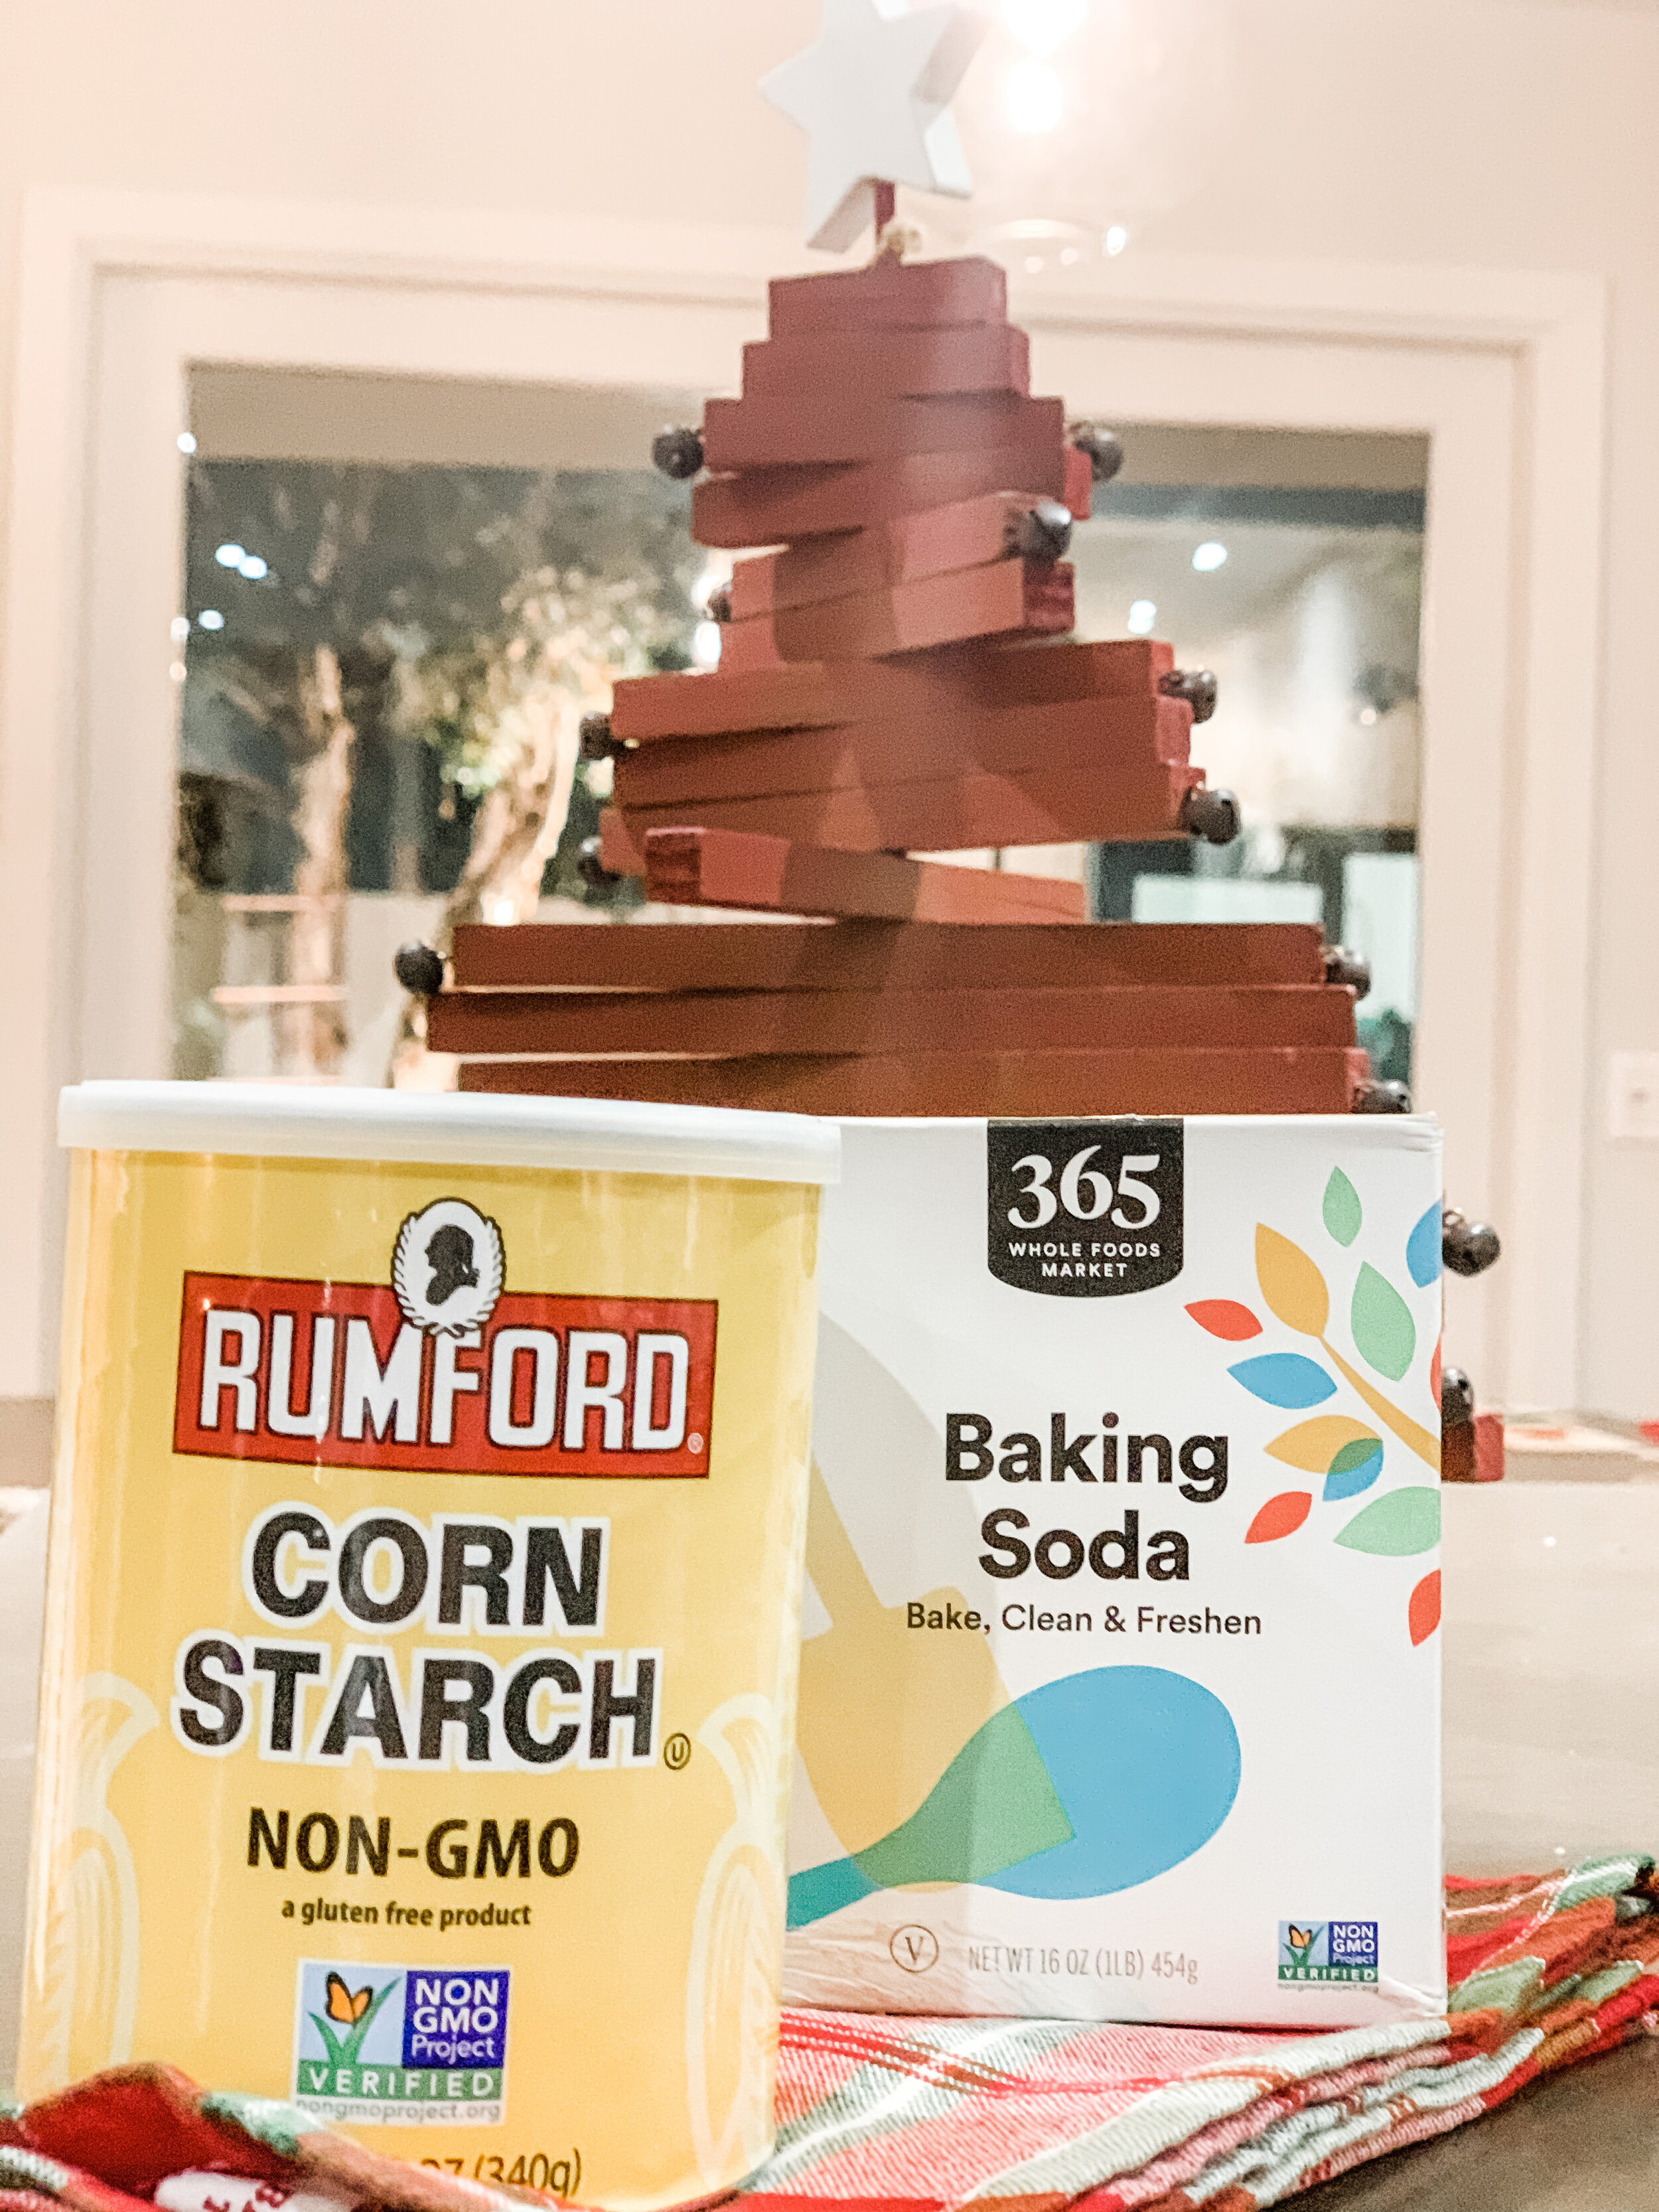
1. Mix 1 cup baking soda and cornstarch in a small saucepan. Add water and whisk until soda and starch are dissolved and the mixture is smooth.
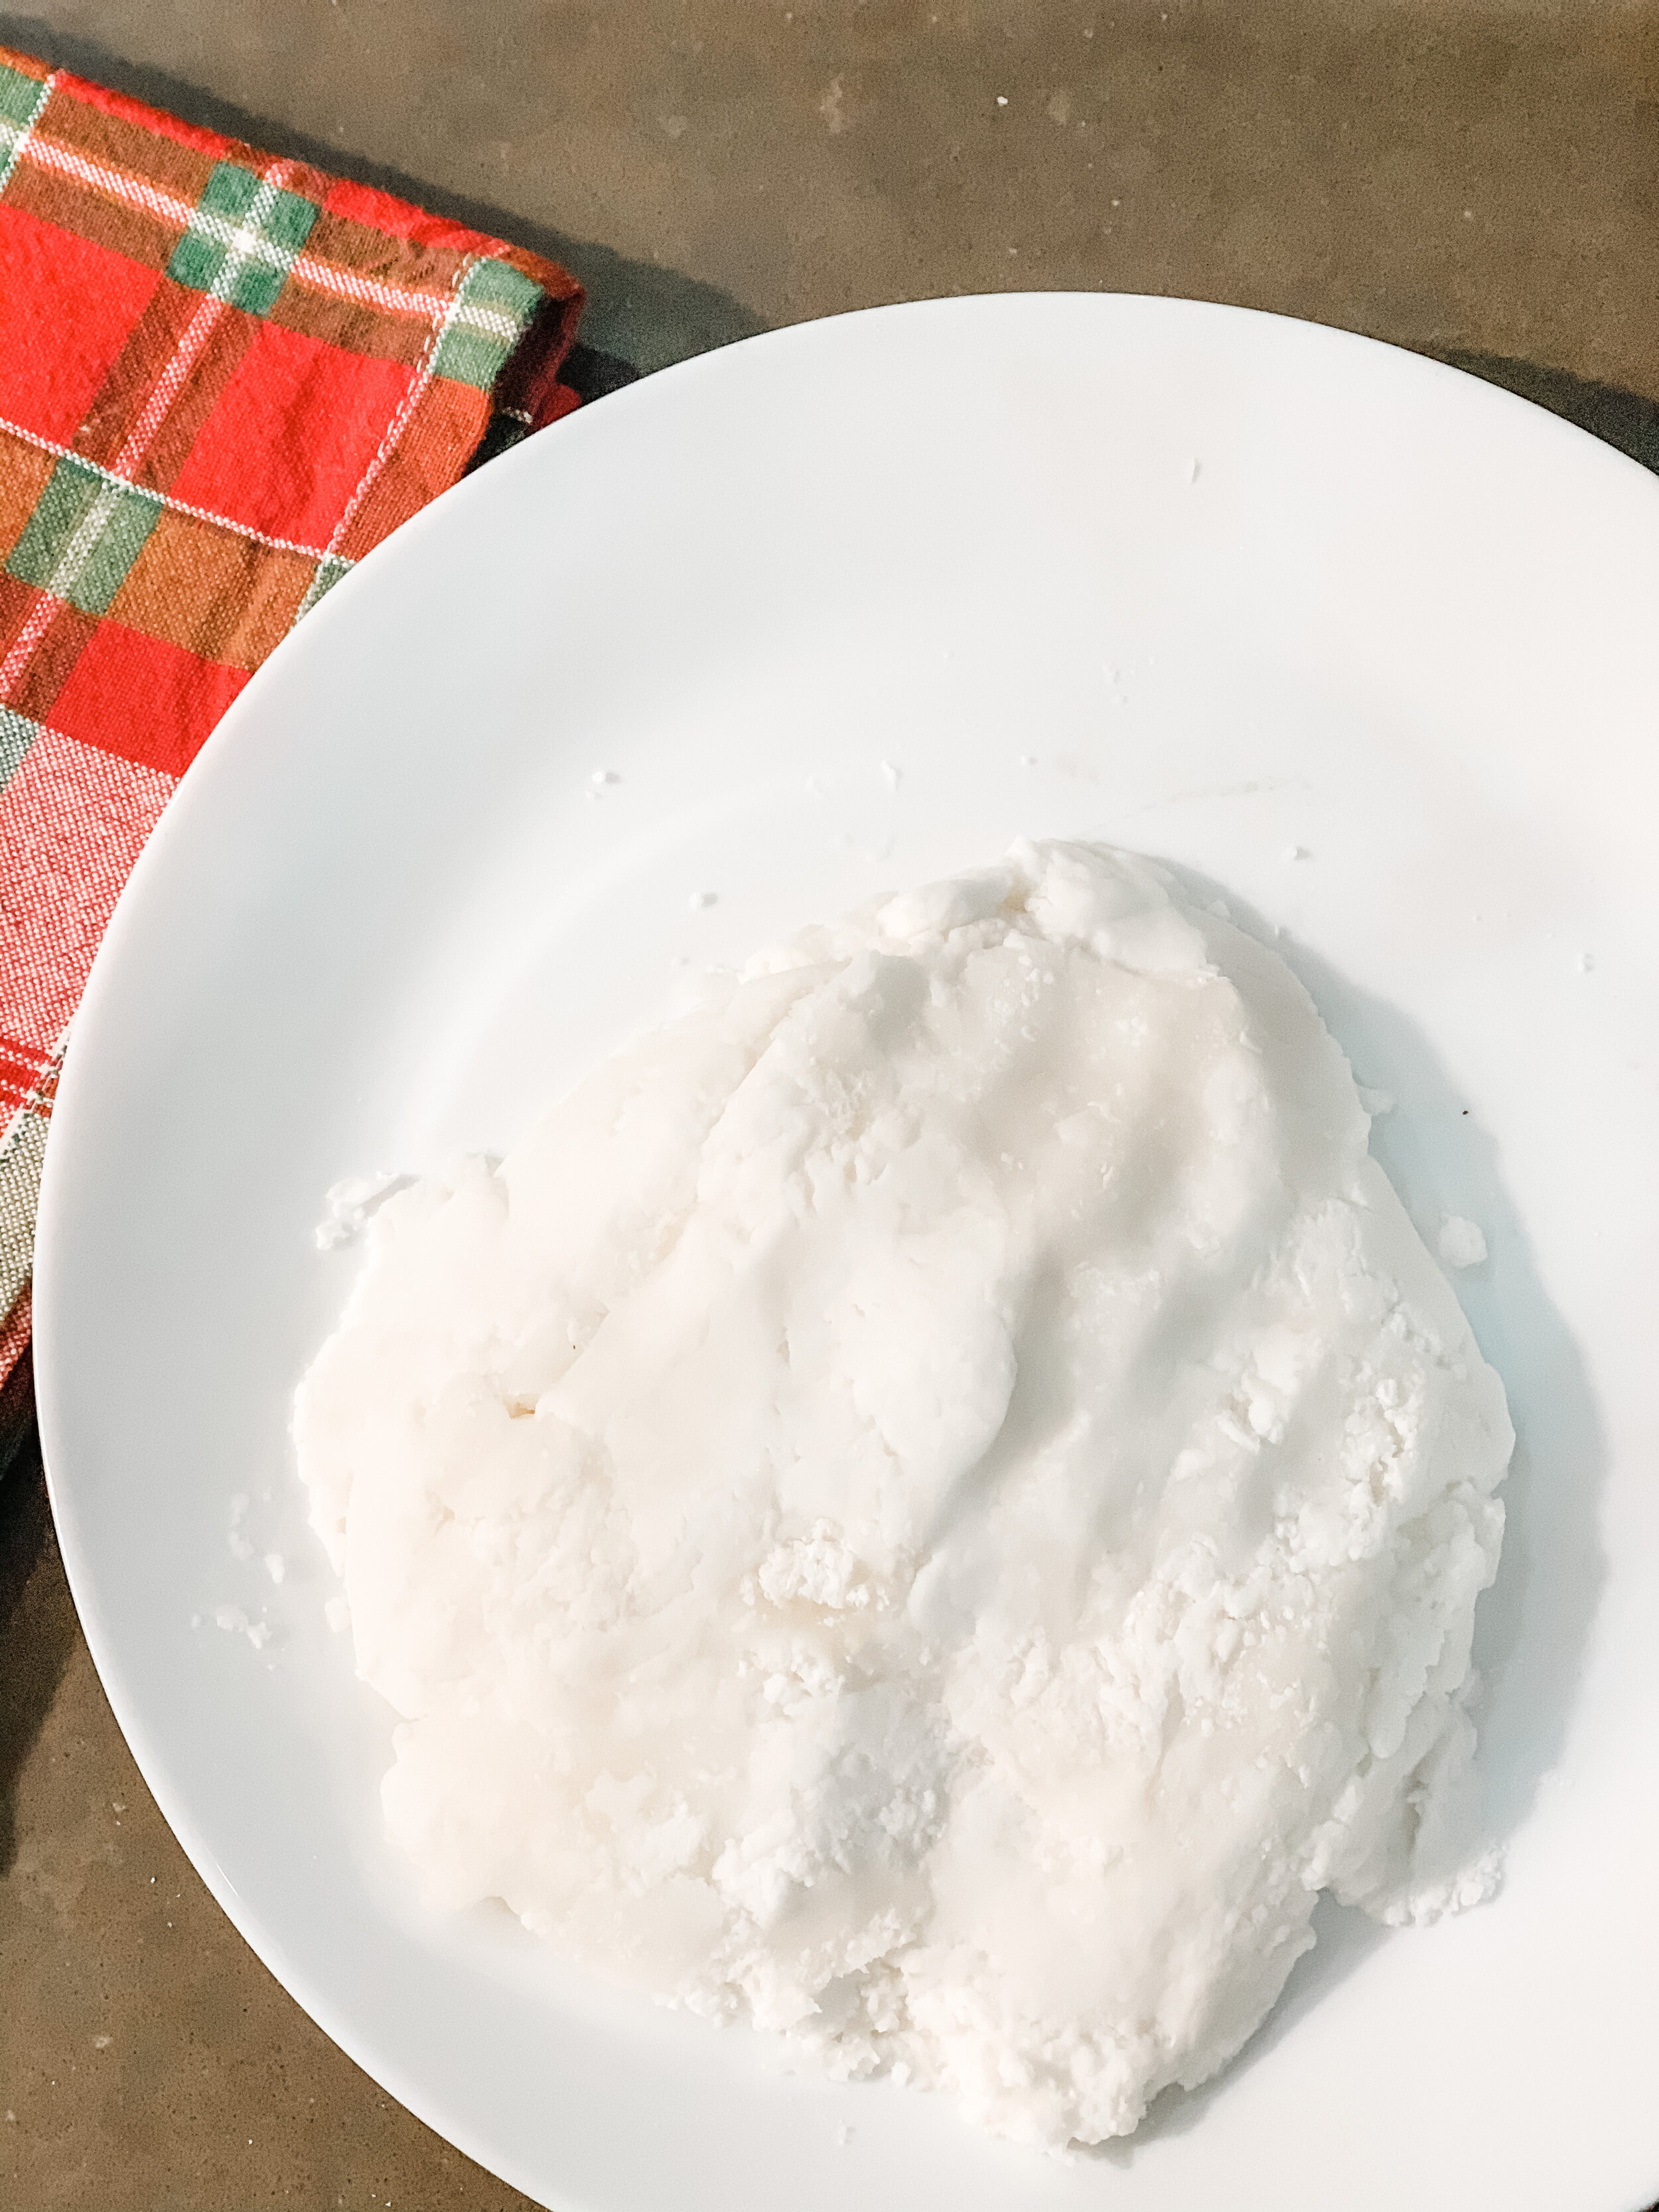
2. Cook over medium heat, stirring constantly, for about 3-5 minutes or until thickened. As you stir, scrape the bottom and sides of the bowl. The mixture will first get bubbly before it gets thicker and you need to scrape the pot to get all of that combined.
3. Once the mixture is thick like toothpaste, remove it from the stove. Transfer dough to a cool plate and allow it to cool to room temperature (about 30 minutes).
4. Place dough on your work surface. Dust with cornstarch and knead the dough into a smooth ball. If it’s sticky or too wet add cornstarch, tablespoon by tablespoon and keep kneading until it’s less sticky. It should be pliable, but not sticky wet nor dry and crumbly.
5. Add more cornstarch to your work surface and roll out the dough to no less than 1/4 inch (6mm) thin. Use a normal rolling pin for rolling.
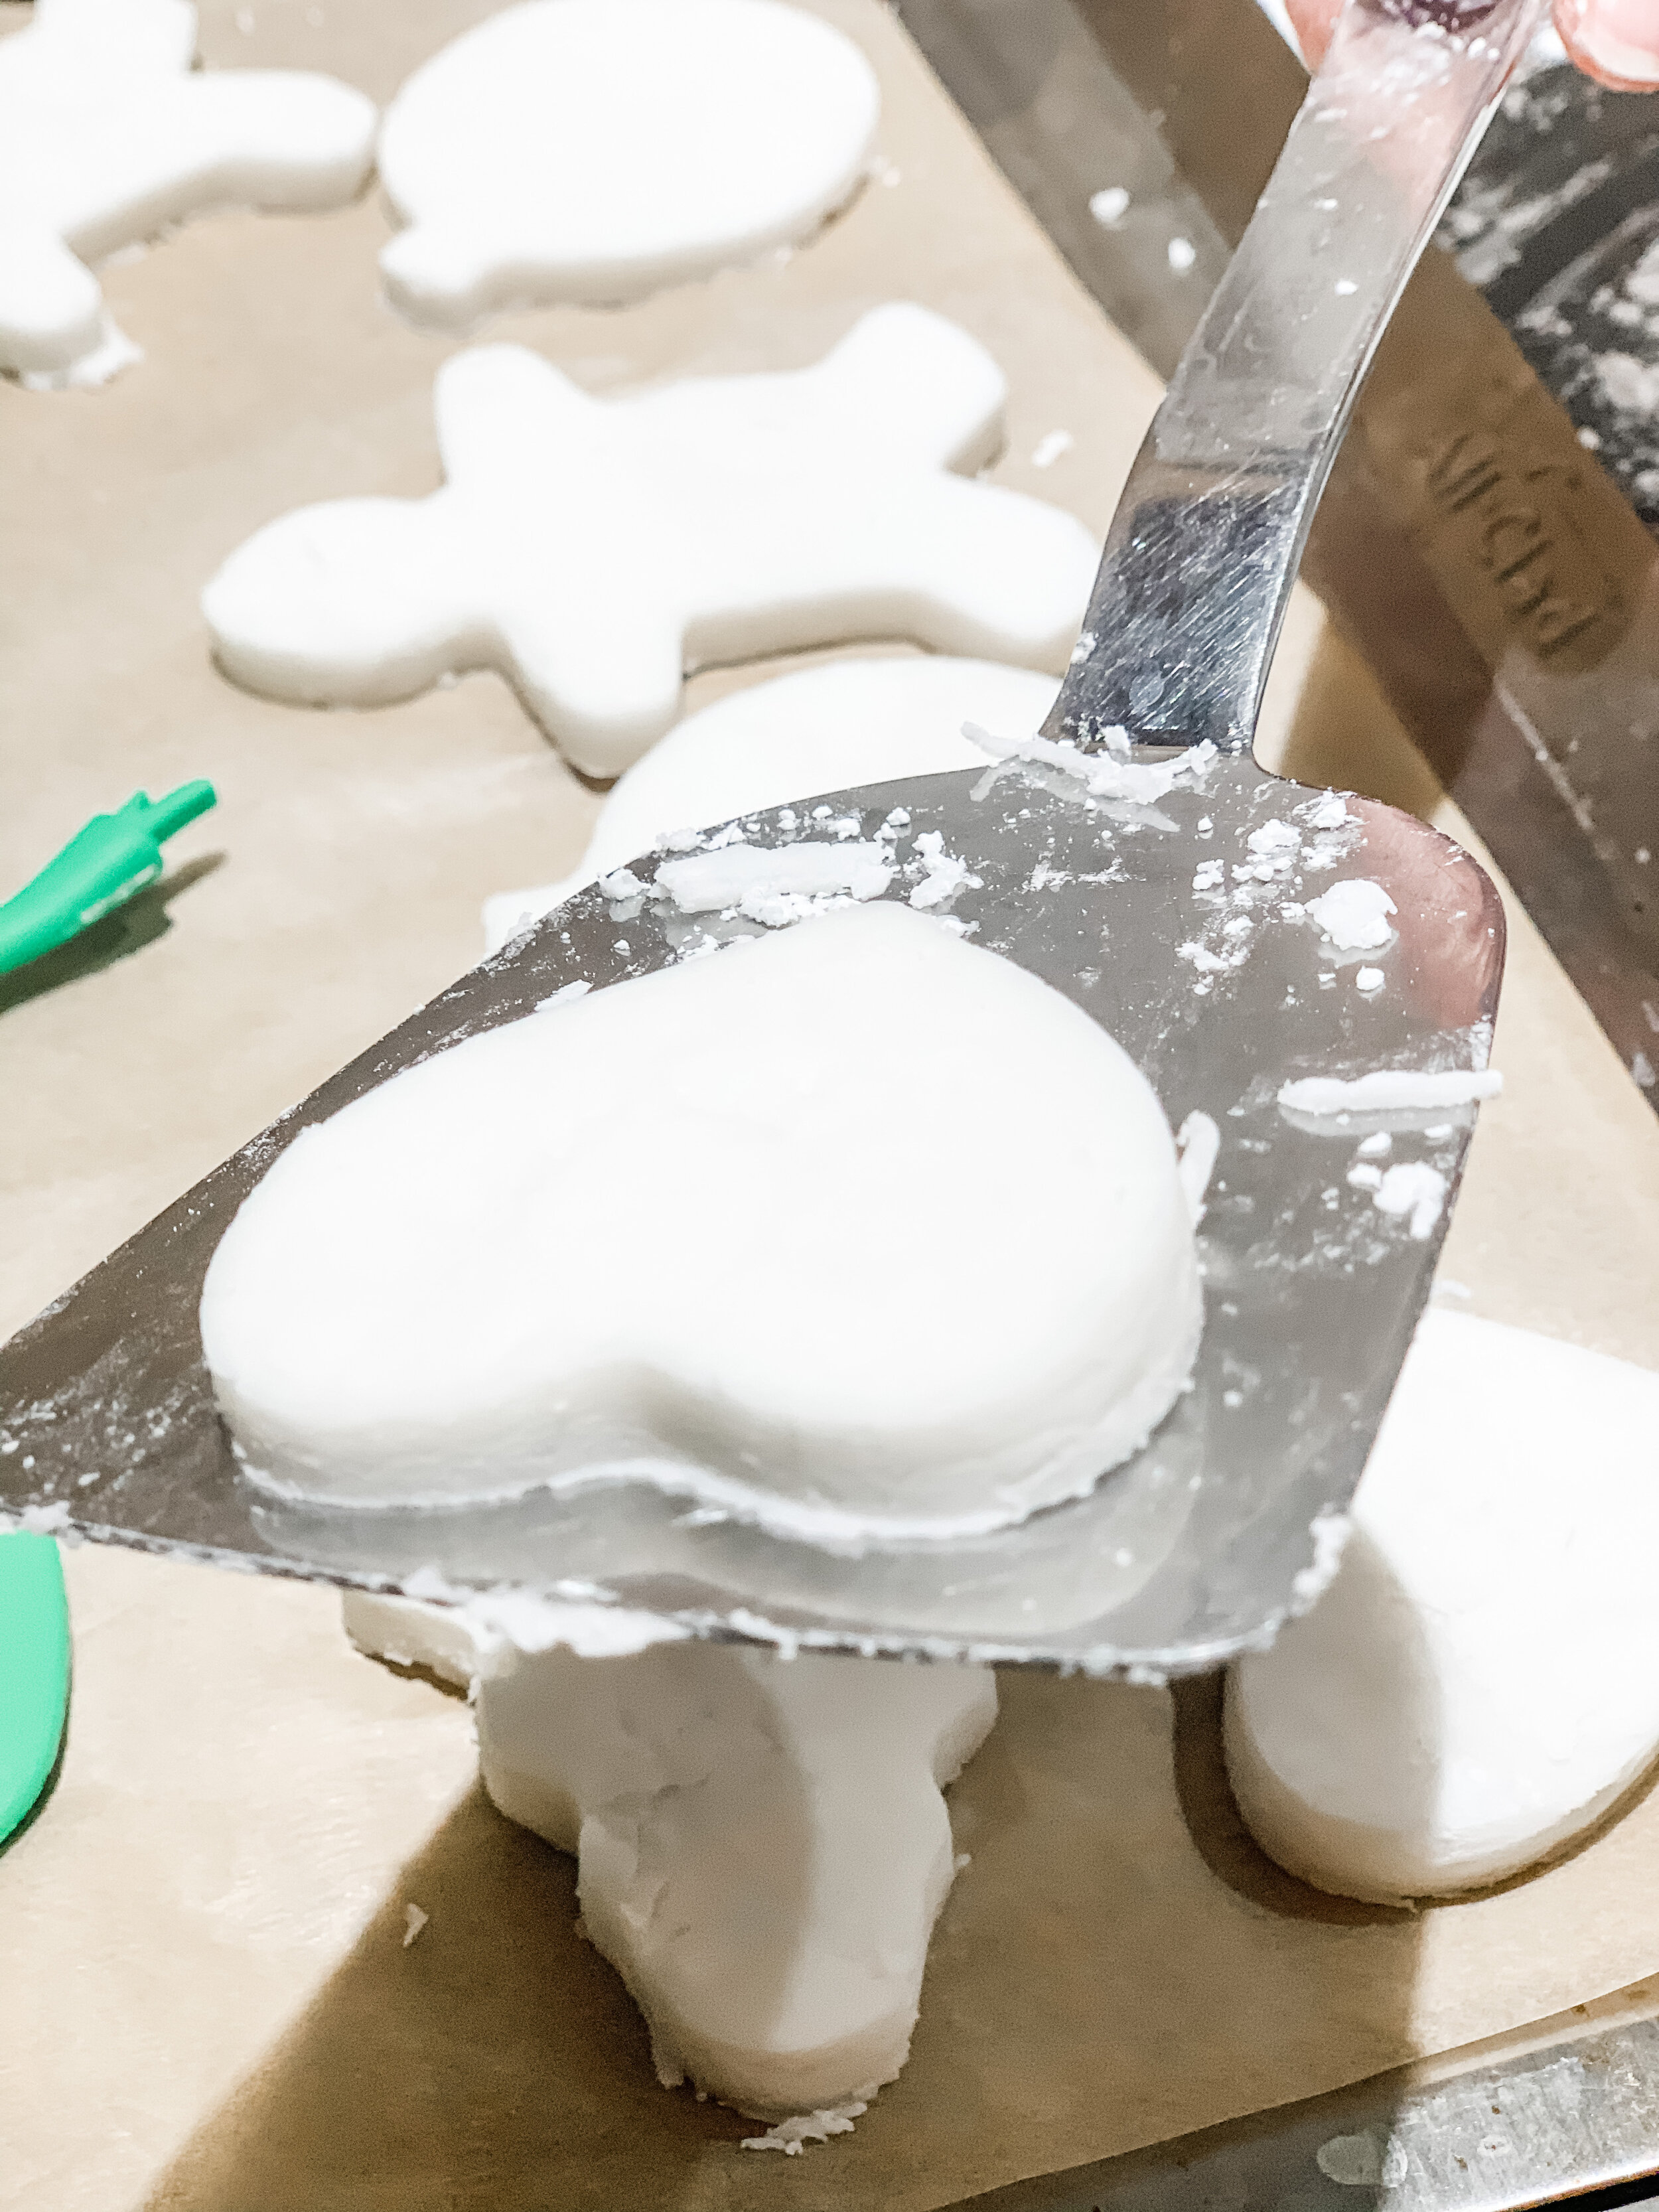
6. Cut out desired shapes and transfer them to a baking sheet lined with parchment paper. Cut out holes (for hanging the ornaments) with a straw. Let ornaments air-dry overnight. Flip them over the next day and let them dry until they’re completely set, ideally another day. The longer you wait the better.
7. You can then leave them white, you can paint them, you can use a marker to write something on them
These can be saved for the following year. Store in an airtight container layered between sheets of tissue paper or paper towel
Recipe adapted from: : https://www.sugarsalted.com/homemade-scented-baking-soda-ornaments/

6. Winter Scene Terrerium
inspired by: http://thelemonista.blogspot.com
What you need:
Mason jar
Holiday themed figurines like a tree and a little deer. You might have them at home or you can purchased at a craft store. Alternately you could use things from nature like a pine cone and someChristmas tree branches
Instructions:
Similarly to the dry snow globe, Apply glue to the bottom of the deer's feet (or the figurine you are using) and position on the bottom of your jar. Tongs might help if your jar is very deep
Allow glue to set so that the deer is stable and then add the tree, repeating the same process.
Once glue has dried, spoon in salt to look like snow. Alternately you can use cotton alone or cotton mixed with very thin lights
Screw on the lid and put your vintage looking terrarium on display!
Happy Crafting!
For more indoor activities check out this post: Indoor Activities For Kids (for a rainy day or coronavirus social distancing)
SHOPPING LIST
Holztiger wooden figurines for playdough sensory box
Elmer’s Natural Glue
Eco Kids Natural Play Dough
Wooden Accessories and Beads